If you’ve ever looked up at your ceiling and wondered why it’s covered in that old popcorn texture, trust me, you’re in good company. For decades, builders used stucco ceilings because they hid imperfections and saved time. But today? Most homeowners want clean, modern, smooth ceilings—which is why stucco removal and popcorn ceiling removal have become some of the most common DIY projects around.
I was the same. I got tired of the rough texture, and before I even lifted a scraper, there was one step I refused to skip.
1. Asbestos Check
If your home was built before the 80s, there’s a chance your popcorn texture contains asbestos. And once you start scraping, those fibers don’t politely stay on the ceiling—they float everywhere.
I tested mine before doing anything:
- Bought a test kit
- You can also hire a professional
If your test comes back positive, stop immediately. Asbestos popcorn ceiling removal must be handled by licensed professionals. No house painting project or ceiling repair is worth risking your lungs over.
Once I confirmed my ceiling was asbestos-free, then I finally moved on to the actual stucco removal.
2. Tools I Actually Used
Most competitor blogs list every tool under the sun. Here’s what I really used:
- Ladder
- Pump sprayer
- Wide scraper
- Small putty knife
- Utility knife
- Pole sander
- Medium-grit sanding screens
Materials: plastic sheeting, painter’s tape, joint compound, drywall primer, ceiling paint.
Nothing fancy. Just the essentials for interior painting prep and ceiling refinishing.
3. Prepping the Room Took Longer Than Scraping
No one warns you how far dust can travel. I cleared the room completely—furniture, rugs, everything.
Then I:
- Covered walls and floors with plastic
- Shut off the electricity
- Removed the light fixture
- Opened windows for airflow
It’s boring, but if you want a clean, smooth finish, preparation is everything.
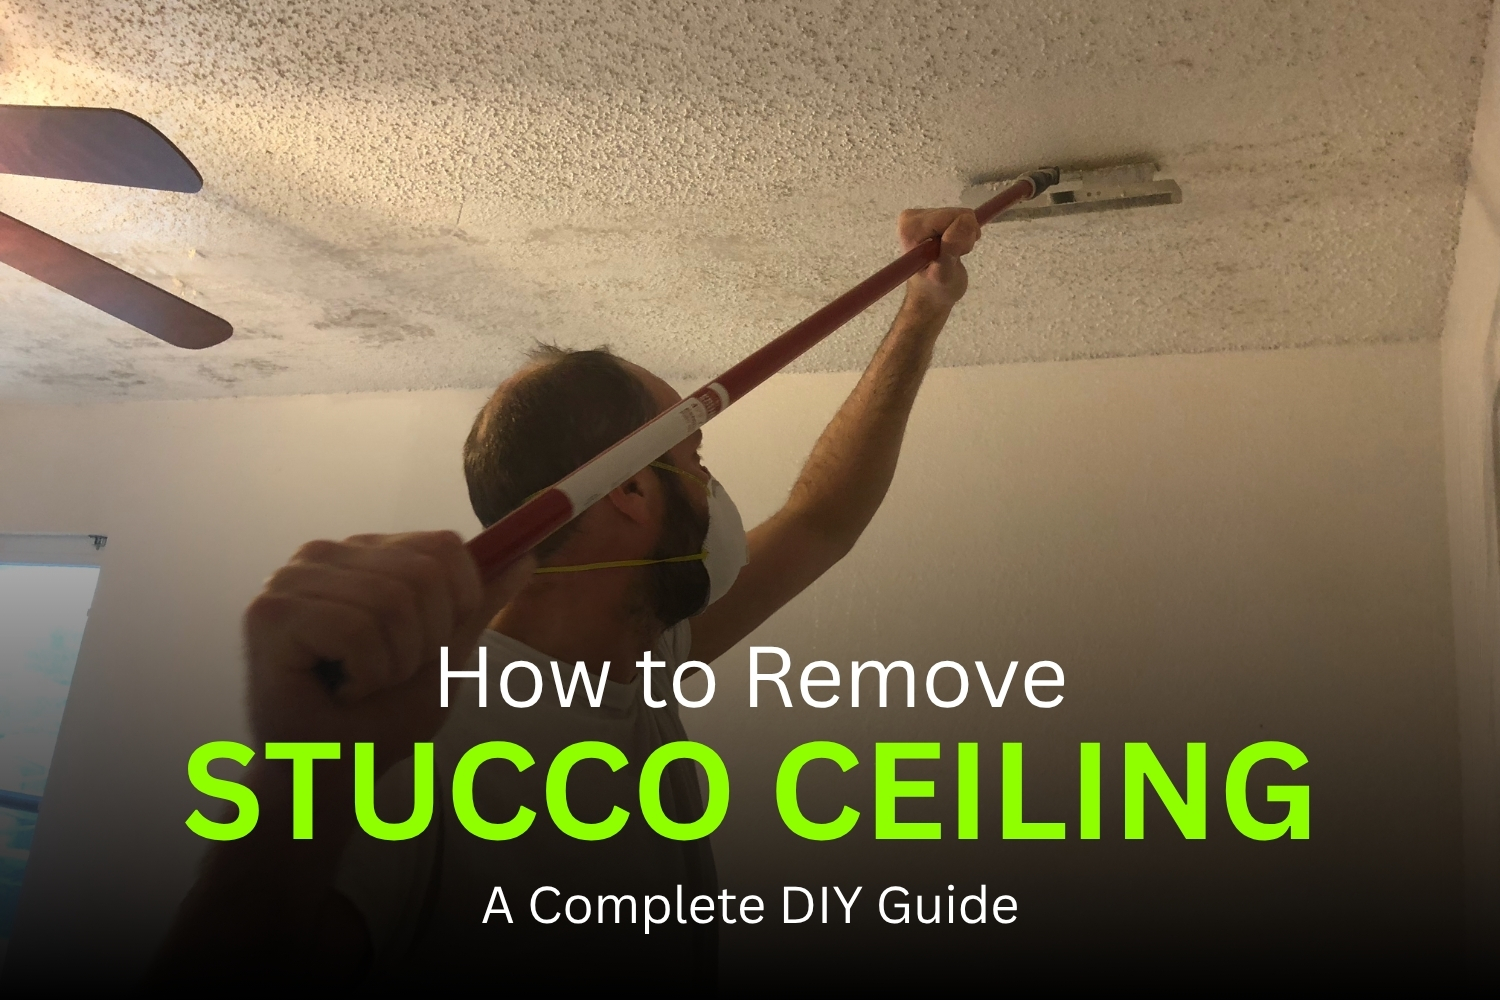
4. Wet, Wait, Scrape
I divided the ceiling into small sections (4–6 sq. ft.), then:
- Sprayed warm water
- Let it soak 10 minutes
- Scraped slowly
If the texture is wet enough, popcorn ceiling removal is a lot easier than people think. Painted areas were tougher, but the small putty knife saved the day in corners.
Too much pressure = gouges. But that’s fixable.
5. Patch, Sand, Repeat
Every blog skips this part, but this is where the magic happens.
After scraping, expect your ceiling to look rough—completely normal.
I checked for:
- Cracks
- Nail pops
- Loose drywall tape
- Rough joints
A thin layer of joint compound fixed almost everything. Once dry, I used the pole sander with very light pressure until the ceiling felt flat and smooth.
Then I wiped everything down with a damp cloth.
6. Prime & Paint
Primer is not optional here. It seals the drywall and helps the paint look even.
I used:
- 1 coat of drywall primer
- 2 coats of flat ceiling paint
The difference after that final coat? The whole room instantly looked brighter and more modern—like it had just been renovated by professional interior house painters.
7. Clean Up & Enjoy the Smooth Ceiling
I removed all the plastic, reinstalled the light fixture, flipped the breaker back on, and finally stepped back to admire the clean ceiling. Messy job? Yes. Worth it? Absolutely.
Final CTA
If you’d rather avoid the mess altogether—or you want results that look perfectly smooth without days of scraping—the team at Revive Painting can handle everything from stucco removal to interior painting, ceiling refinishing, and complete surface preparation.
Whether you want a free quote, expert advice, or a professional finish that lasts, Revive Painting is honestly the easiest way to upgrade your home without the hassle.