Summary
Planning a how to remodel painting project becomes much easier when you understand each stage before you begin. We explain how professionals inspect surfaces, prepare walls, select materials, and apply paint for long-lasting results. Whether you plan to do the work yourself or hire experienced painters, this guide helps you achieve a beautiful finish while avoiding common mistakes and unnecessary expenses.
How to Remodel Painting: What You Need to Know Before You Start
A successful how to remodel painting project starts long before the first brush touches the wall. Good planning, proper surface preparation, and the right materials all work together to create a smooth and durable finish. Whether you’re updating faded walls or giving your home a complete makeover, following a proven process helps you avoid costly mistakes.
Our team has years of experience helping homeowners complete painting remodels with professional results. In this guide, we’ll explain every step, answer common questions, and share practical tips you can use before starting your project. If you’re planning a complete house painting makeover or simply want to refresh one room, this guide covers everything you need to know.
What Is Remodel Painting?
Remodel painting is the process of repainting a home or room as part of an improvement or renovation project. Unlike regular touch-up painting, it often includes repairing damaged walls, preparing surfaces, priming, and applying fresh paint that complements the updated space.
A complete painting remodel process focuses on improving both appearance and durability. It may involve repainting ceilings, walls, trim, doors, and other interior or exterior surfaces. Before beginning, it’s important to understand how to plan a painting remodel so you can choose suitable colours, finishes, and materials that match your home’s style.
Whether you’re updating one room or planning a full home painting remodel, proper preparation ensures a smoother project and longer-lasting results.
Signs Your Home Needs Remodel Painting
Your walls often show clear signs when it’s time for a home painting remodel. Ignoring these warning signs can make your home look older and even allow minor wall damage to become more noticeable over time.
You should consider repainting if you notice faded colors, peeling paint, water stains, cracked surfaces, or visible scuff marks that no longer clean easily. Homes that haven’t been painted in several years may also lose their fresh appearance due to everyday wear.
If you’re wondering what to know before a painting remodel, start by evaluating every room carefully. Older paint may hide moisture damage or surface imperfections that should be repaired before applying new paint. Planning early also makes your room painting remodel guide easier to follow and helps prevent unexpected delays.
Tools and Materials You’ll Need
Having the right equipment makes every painting project safer, faster, and more professional. Investing in quality painting tools saves time while improving the final finish.
Essential paint supplies include:
- Paint brushes for detailed work
- High-quality rollers
- Paint trays and liners
- Drop cloths
- Painter’s tape
- Putty knife
- Sandpaper
- Spackling compound
- Primer
- Interior or exterior paint
- Extension pole
- Safety glasses
- Dust mask
- Ladder
Before purchasing materials, create a painting remodel checklist that includes everything needed for each room. This simple planning step reduces unnecessary trips to the store and helps you stay within your painting remodel budget. If you’re comparing expenses, reviewing your expected cost to remodel painting can also help you choose the right products without sacrificing quality.
How to Remodel Painting Step by Step
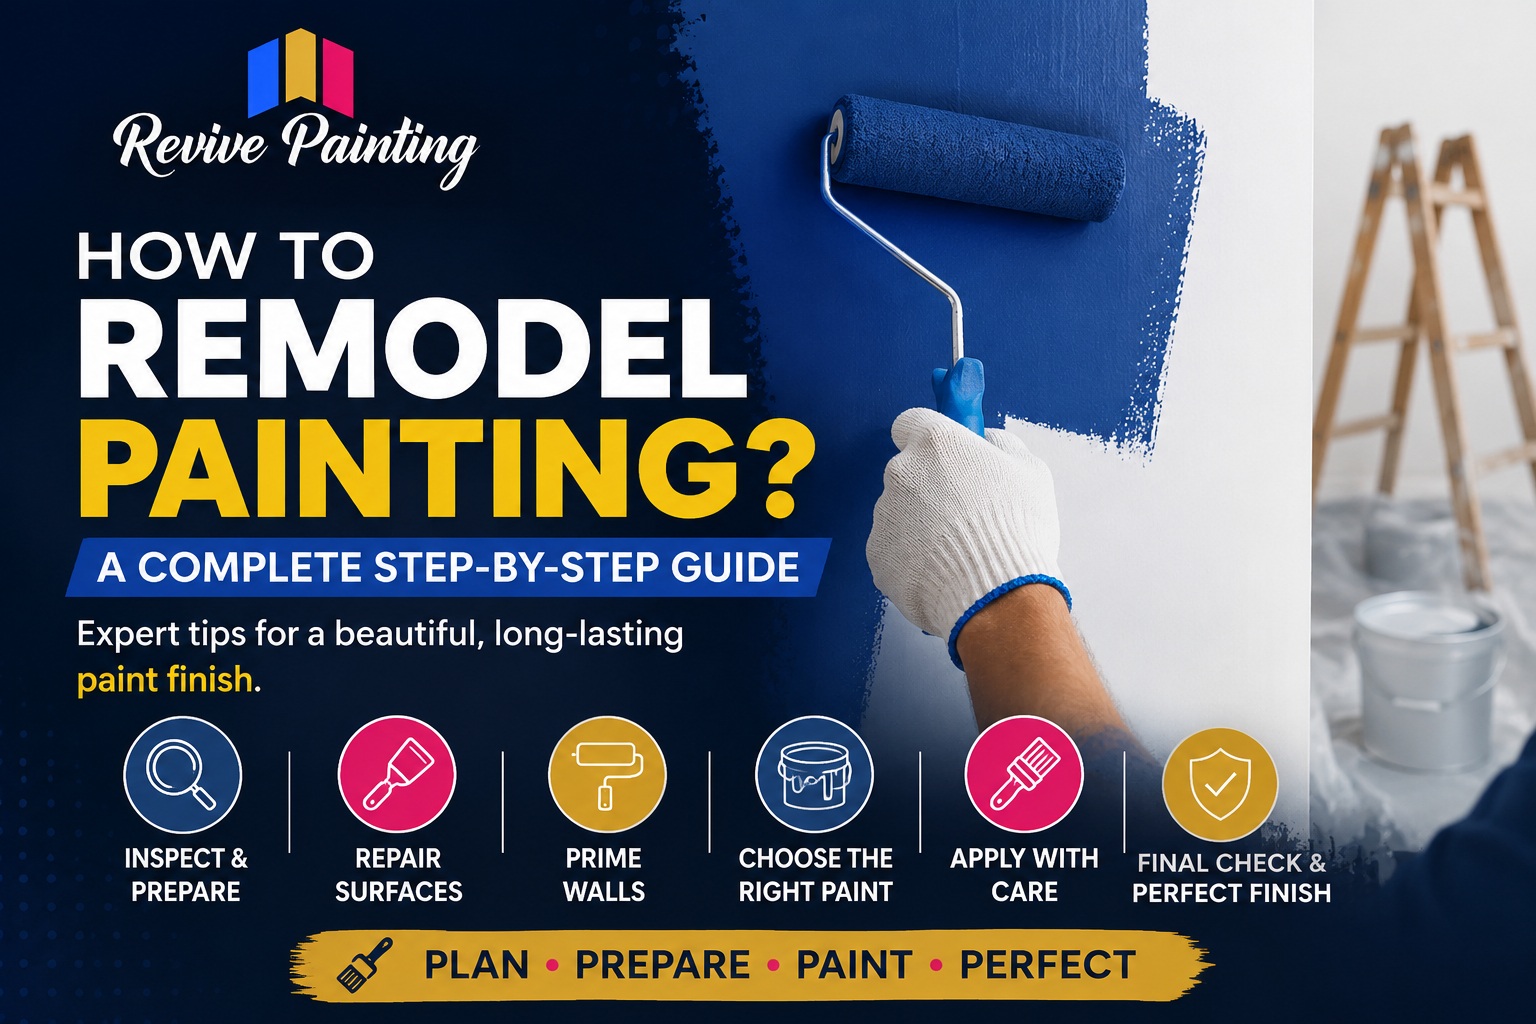
Following a structured process produces cleaner lines, smoother finishes, and paint that lasts for years. Below is the professional painting remodel step-by-step guide used by experienced painters.
Step 1: Inspect the Surface
Always begin by carefully inspect painted walls before opening a paint can. Look for peeling paint, nail holes, water damage, mildew, loose drywall tape, and uneven textures. Identifying problems early prevents them from showing through the new finish.
Taking time to inspect surfaces also helps determine how to remodel old paint on walls without creating additional repair work later.
Step 2: Repair Cracks and Holes
Before painting, complete every necessary wall repair before painting. Fill nail holes, dents, and cracks using quality filler or joint compound. Replace damaged drywall sections if needed, then allow repairs to dry completely.
Smooth repairs create an even surface that blends naturally after painting. Skipping this step often leads to visible imperfections, even after multiple coats.
Step 3: Clean and Sand the Surface
Proper surface preparation is one of the most important parts of any successful painting project. Dust, grease, fingerprints, and old residue prevent paint from bonding correctly.
Wash dirty walls with an appropriate cleaner, allow them to dry, then lightly sand glossy areas to improve adhesion. Thorough surface preparation creates a smooth foundation that helps new paint last longer while producing a more professional appearance.
Step 4: Apply Primer
Using a quality paint primer improves paint adhesion while creating an even surface for color application. Primer is especially important when covering dark colors, repairing damaged walls, or painting fresh drywall.
Applying paint primer also reduces the number of finish coats needed and helps achieve better color consistency throughout the room. This step prepares the surface for a smoother, longer-lasting finish and makes the remaining painting process much easier.
Step 5: Choose the Right Paint
Choosing the right paint finish affects both the appearance and durability of your remodeled space. Matte and eggshell finishes work well for many living areas, while satin and semi-gloss options are easier to clean in kitchens, bathrooms, and high-traffic spaces.
Consider the room’s lighting, moisture levels, traffic, and existing décor before selecting your color and finish. If you’re learning how to remodel painting in a house, choosing paint based on each room’s needs can produce better results than using one product everywhere.
For a successful house painting makeover, quality paint also matters. Professional painters can help you compare finishes and select products that suit your walls, lifestyle, and expected wear.
Step 6: Apply Paint Evenly
Once the surface is ready, use consistent painting techniques to achieve a smooth finish. Start by cutting around corners, trim, windows, and doors with a brush. Then use a roller on larger wall areas.
Apply thin, even coats rather than trying to cover everything with one heavy layer. Keep a wet edge as you work to reduce visible roller marks and overlap lines. Good painting techniques also include working in manageable sections and maintaining consistent pressure.
If you’re following the steps to remodel painting a room, take your time around edges and corners. Careful application gives the room a cleaner appearance and makes your remodel look professionally completed.
Step 7: Allow Proper Drying Time
Never rush paint drying between coats. Follow the manufacturer’s recommended drying time because temperature, humidity, ventilation, and paint type can all affect how quickly the surface dries.
Touching or recoating paint too early can cause streaks, peeling, or uneven texture. Good ventilation can support proper paint drying, but avoid creating excessive airflow that could introduce dust onto a fresh surface.
Allow the final coat to cure properly before placing furniture against walls or cleaning the surface. This small step protects your work and helps your remodelled paint maintain its finish.
Common Remodel Painting Mistakes to Avoid
Understanding common painting mistakes can save you time, money, and frustration. One of the biggest errors is painting over dirty, damaged, or glossy surfaces without proper preparation. New paint cannot hide serious cracks, stains, or loose coatings.
Another common mistake involves choosing the wrong finish for a room. A delicate finish may not perform well in a busy hallway, while an overly glossy finish can highlight wall imperfections.
Skipping primer, using poor-quality tools, applying thick coats, and ignoring drying times can also affect the final result. Homeowners sometimes underestimate preparation because they want to see the new color quickly. However, preparation often determines whether the finished project looks professional.
A practical painting remodel planning guide should include surface inspection, repairs, cleaning, priming, paint selection, application, drying, and final inspection. You should also plan your budget before purchasing materials. For a more detailed breakdown, use our painting renovation cost resource to understand the expenses that can influence your project.
DIY vs Hiring Professional Painters
Many homeowners ask, can I remodel painting myself? Yes, smaller projects can often be completed by homeowners with basic painting skills, suitable tools, and enough time. A single bedroom with minor repairs may be manageable as a weekend project.
However, larger projects require more preparation and consistency. High ceilings, extensive wall repairs, exterior surfaces, difficult access, and multiple rooms can quickly make DIY work more demanding.
Professional painters bring experience in surface preparation, color application, repairs, and finish selection. They also know how to protect floors, furniture, trim, and fixtures during the project.
If you’re unsure what’s involved in a painting remodel, a professional assessment can help you understand the work before committing. Experienced professionals can inspect your walls, recommend suitable products, estimate the required labor, and help you create a realistic painting remodel budget.
For homeowners who want dependable results without managing every detail themselves, hiring professional painters can make the process easier and more efficient.
Local Painting Remodel Services in Scarborough and the GTA
If you’re planning a painting remodel Scarborough homeowners can rely on, professional help can simplify everything from surface preparation to final application. Local expertise also helps ensure your project suits the area’s homes, weather conditions, and specific property requirements.
For homeowners looking for home painting services Toronto, choosing an experienced team can provide better preparation, cleaner application, and a more consistent finish. Professional painting contractors GTA homeowners trust can also help with larger renovation projects where several rooms or surfaces need attention.
Whether you’re refreshing one bedroom or completing a full home painting makeover, the right team can help you plan the project, select suitable materials, and complete the work efficiently.
Conclusion
Learning how to remodel painting gives you a clear path from planning to a finished, refreshed home. Start by inspecting your walls, repairing damage, cleaning and sanding surfaces, and applying primer. Then choose the right finish, use proper application methods, and allow enough time for each coat to dry.
A well-planned painting remodel process can transform tired rooms and improve your home’s overall appearance. If the project feels too large or complicated to handle alone, professional painters can take care of preparation, application, and finishing details while helping you stay within your budget.
Frequently Asked Questions
How do you remodel painting?
To remodel a home’s paint, inspect the existing surfaces, repair damage, clean and sand the walls, apply primer, choose the right paint, and apply even coats. Allow adequate drying time between coats and complete a final inspection before returning furniture to the room.
What’s involved in a painting remodel?
A painting remodel usually involves planning, surface inspection, repairs, preparation, priming, paint selection, application, drying, and cleanup. Depending on the home’s condition, the project may also include removing loose paint, repairing drywall, sealing stains, or updating trim.
Do I need a permit to repaint my house?
For a standard interior repaint, a permit is usually not required. However, requirements can vary based on your location and the scope of work. Projects involving structural changes, significant exterior alterations, or work in regulated buildings may have additional requirements. Always check local rules before starting a major project.
Can I remodel painting myself?
Yes, you can handle many small painting projects yourself. Basic preparation, good-quality tools, patience, and careful application can produce attractive results. For extensive repairs, large homes, high areas, or projects requiring a highly consistent finish, professional assistance may be a better choice.
How long does a painting remodel take?
The timeline depends on room size, surface condition, repairs, number of coats, drying conditions, and the total area being painted. A small room may take a few days, while a full-home project can take considerably longer. Proper planning helps prevent rushed work and unnecessary delays.